Appearance
Getting Started with Cloud Deployments
How to get started with cloud environments and deploy your first server.
Appearance
How to get started with cloud environments and deploy your first server.
Doing cloud deployments is an easy process, with the Metaplay CLI taking care of the heavy lifting. To do a deployment, you need to:
...and, of course, test the newly deployed server.
For the sake of simplicity, we will be doing our first deployment manually to experience the process. After that, we will be setting up an automated pipeline to make deployments for us.
A container image is a self-contained package of your game server, and all its dependencies. You can build a container image using the metaplay build image command.
At this point, you should have Docker installed and running on your machine for the build to work.
MyGame$ metaplay build image
The build command will generate a container image named <projectID>:<timestamp>, like lovely-wombats-build:1755849940, for example.
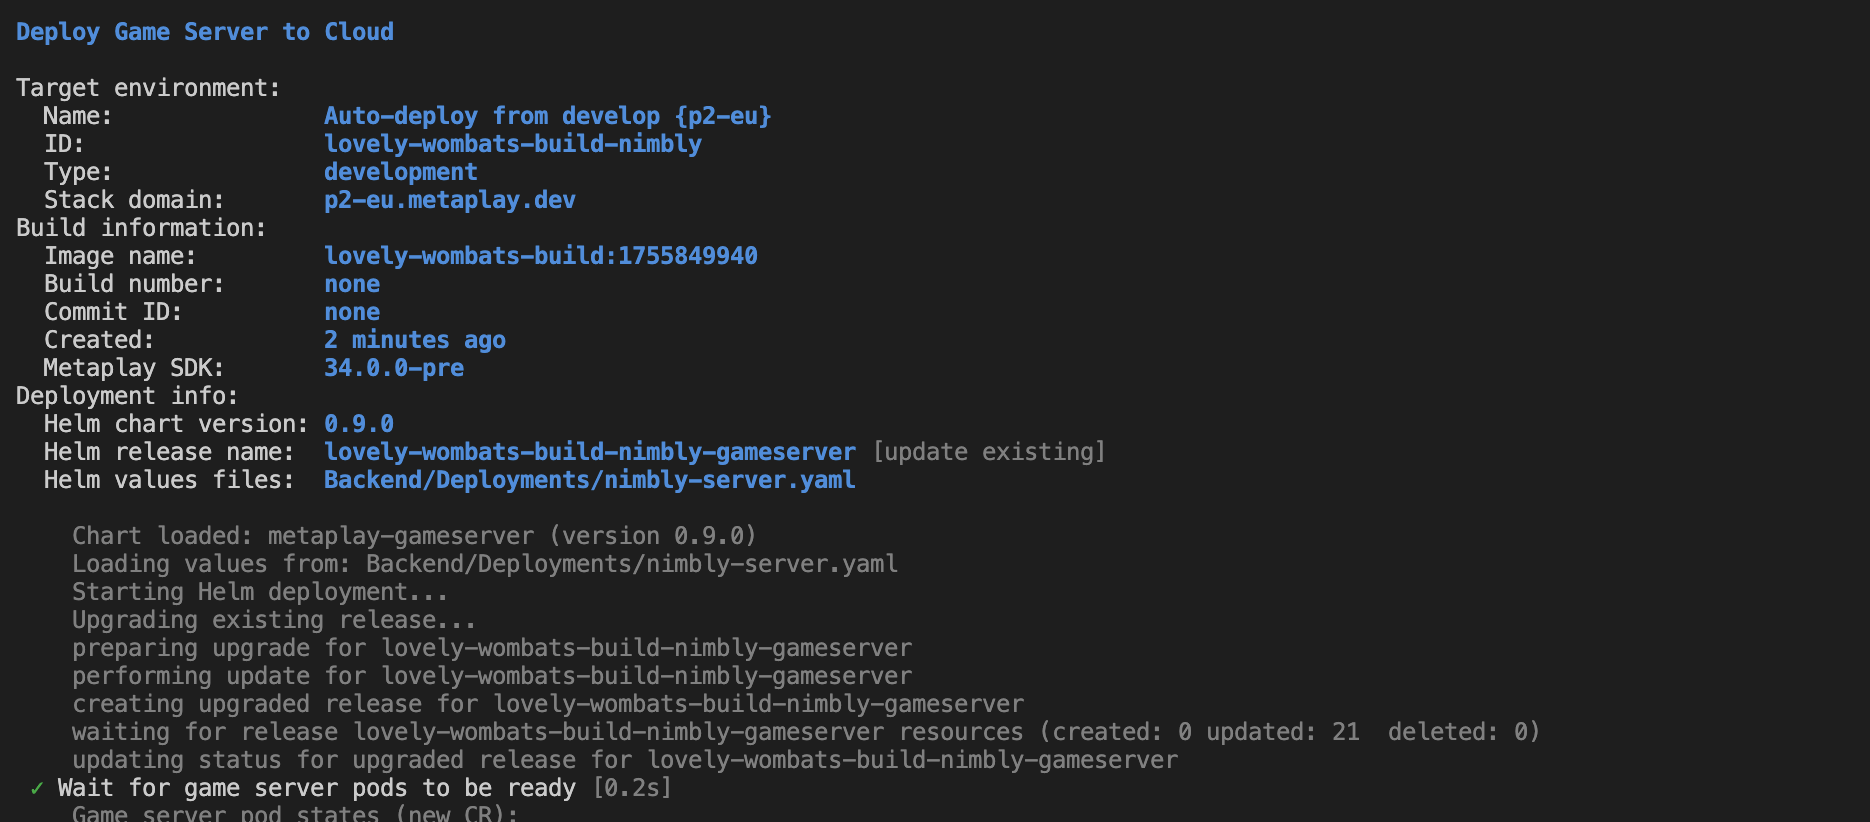
With a container image built, you can deploy it to your cloud environment with the metaplay deploy server command. Notice how we don't need to specify the container image or the environment, as the CLI will ask you for any missing details.
MyGame$ metaplay deploy server
For repeated runs, you could also specify the environment and container image explicitly:
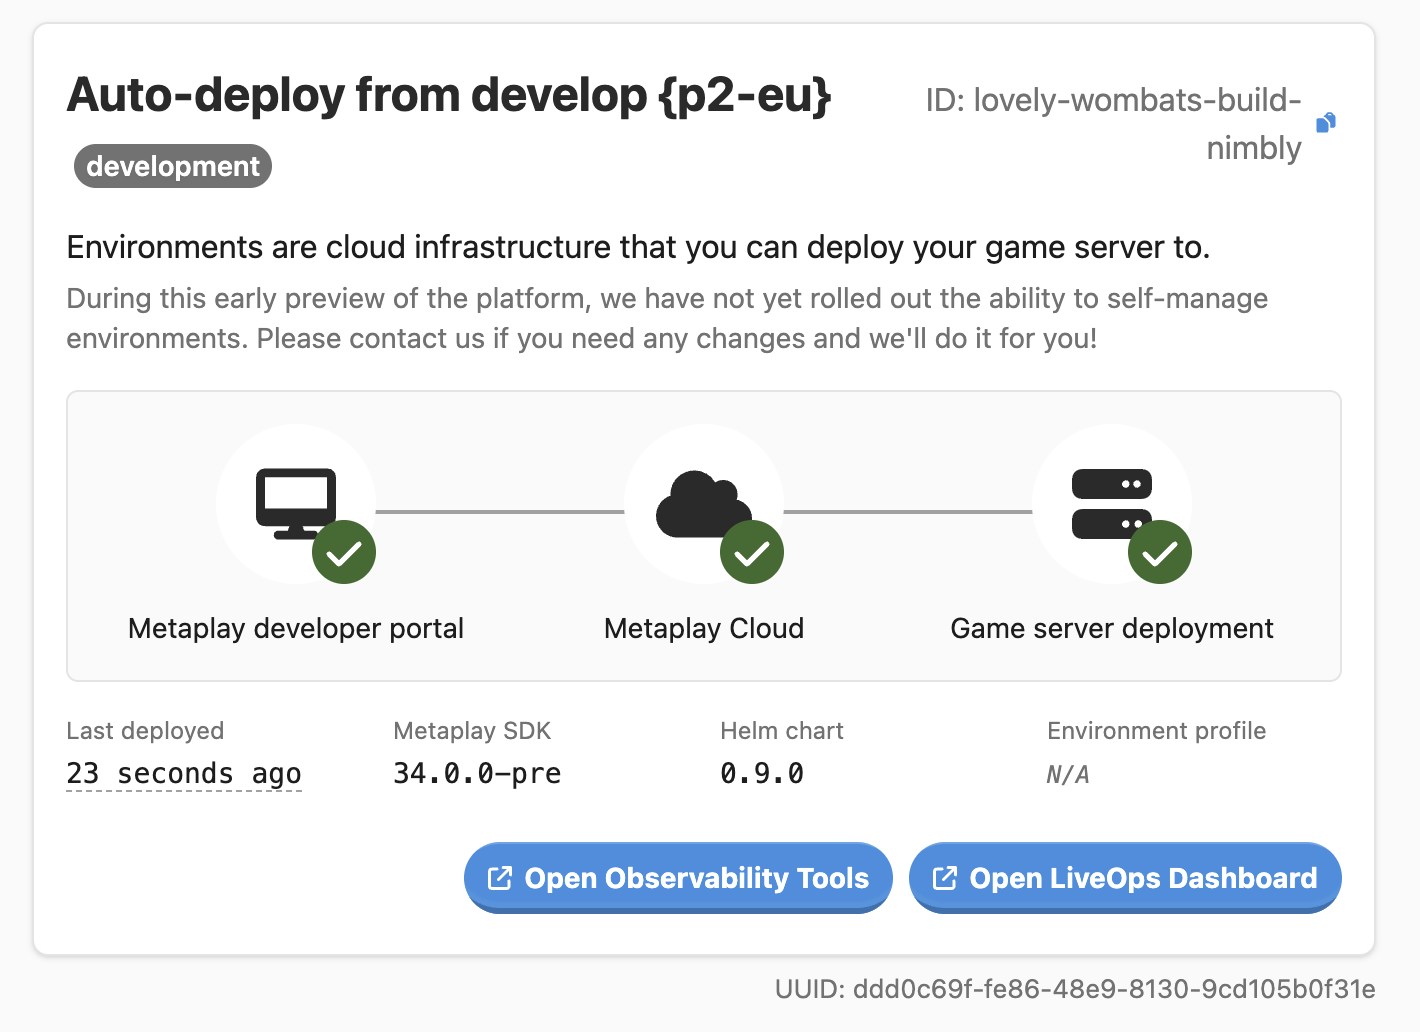
MyGame$ metaplay deploy server lovely-wombats-build-nimbly lovely-wombats-build:1755849940The Metaplay CLI will do a few automatic checks to make sure the deployment is working. For a manual test, you should be able to see the game server running in the environment details page in the Developer Portal.

From there, you can access the game server's LiveOps Dashboard and the observability tools.
If you prefer quick access from the CLI, you can use the metaplay debug logs command to quickly check the latest logs of the game server.
MyGame$ metaplay debug logs [ENVIRONMENT]
If this was your first time setting up a cloud environment, you need to configure your Unity project to know about the environment. You can do this by following the Setup section of the Environment Configs guide.
Next, select the deployed environment as the active environment in Unity's Metaplay → Environment Configs menu.
Then, press play in Unity and your client will connect to the deployed game server.
We have now successfully deployed a game server to the Metaplay Cloud and tested it from the Unity Editor. Next, you can set up an automated pipeline to make deployments for you.